Wondering how to create a custom banner without breaking the bank or spending hours? You can make a durable, personalized banner for around $15 in under 30 minutes by repurposing fabric or cardboard.
It’s an easy way to control colors, fonts, and size while reducing waste and skipping pricey orders.
Keep reading to see how you can master this simple, budget-friendly project.
Why Choose a DIY Banner Over Buying One?
Choosing a DIY banner is often the more budget-friendly option, with a typical finished piece costing around $15. This makes it accessible for many events or celebrations without breaking the bank. You control every aspect of the design—colors, fonts, and size—allowing you to tailor the banner precisely to your needs and test different creative ideas easily. Creating your banner also speeds up your timeline; you can have a personalized decoration ready in under 30 minutes, making it ideal for last-minute or urgent events. Additionally, by reusing materials like fabric, cardboard, or old signage, you reduce waste and lessen your environmental impact. Recycling these items not only saves money but also supports eco-friendly practices, giving you a custom, reusable banner that fits your budget and schedule without waiting on a vendor. For a truly unique presentation, you can pair your banner with a ring bearer pillow to create a cohesive and charming event theme. For capturing your finished banner in the best light for photos or video, consider investing in lighting quality from a ring light with stand, which ensures even illumination and professional results.
What Supplies Do You Actually Need for a Budget Banner?
The supplies you need for a budget banner are straightforward and can often be found around your home. Start with large fabric pieces like old bed sheets, curtains, or drop cloths to serve as the banner’s base. If you prefer paper, leftover cardstock or scrap paper from previous projects work well and save money. For cutting and marking, have scissors, a ruler, a pencil, and a straightedge on hand to ensure clean, straight lines.
To assemble your banner, gather glue sticks, tape, or hem tape. Twine or yarn is essential for hanging, and a hole punch or safety pins make fastening easier. For the lettering, acrylic paint with brushes provides a colorful, personalized touch, but felt letters or stencils can speed up the process. If working with fabric, iron it flat beforehand to remove wrinkles and make cutting easier. Protect your workspace with a tarp or old newspapers to catch spills or drips. Using these basic supplies, you can create an eye-catching banner without overspending. Also, remember to avoid common mistakes like using wet paint on unsealed paper, which can cause the banner to warp.

Size & Thickness: Measures 18 x 36 inches (45 x 91 cm) with a 1.6mm thickness. Provides ample working space for crafting and is easy to handle across a wide range of DIY and sewing projects

Craftsmanship - We use only the best material! Made of high quality canvas with double stitching, it will not tear and wear down due to extensive usage, which is durable and will last a long time.

Premium Materials: These embroidered blank banners are made from premium polyester-cotton blend material, ensuring reliability, durability, and abrasion resistance. Their reinforced double-stitched design allows for long-term use and prevents sagging or tearing, ensuring your displays remain in perfect condition for years to come
Pick the Best Material for Your Event and Budget
Choosing the right material depends on your event’s setting and budget. For outdoor use, 13 oz vinyl is the most cost-effective and versatile option. It’s durable, weather-resistant, and produces bold prints that stand out even in challenging conditions. If wind is a concern, mesh banners are ideal—they have perforations that allow up to 37% of air to pass through, reducing stress on the material and increasing stability. For indoor events where appearance is key, fabric offers a low-glare, high-quality look, making it perfect for photo backdrops. If you need short-term, indoor signage placed on tables, synthetic paper is the most affordable choice. For tabletop displays specifically, you can compare top banner options to ensure the size and stand compatibility match your setup. Keep in mind, vinyl has a lower environmental impact compared to fabric or synthetic paper, so consider sustainability alongside performance. Match the material to your specific event conditions first and then evaluate costs, as outdoor durability often provides better long-term value than choosing the cheapest upfront option. For reusable decoration needs, foil balloons can be safely reused if carefully deflated and stored, similar to how foil balloons offer long-term value when handled properly. Just as vinyl banners benefit from sturdy frames, folding chair covers require proper support to maintain their shape and fit securely on event seating.

CUSTOMIZE YOUR BANNER - Want a customized banner for your next event or advertising campaign? You can now create your own unique customized banner with the many customization options we provide. We have a large selection of sizes and colors, so you can choose one that complements the style of your event. To fully customize it, you can also add your own images, text, and logos.
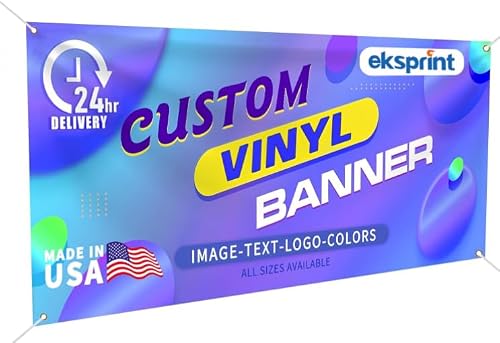
PERSONAL CUSTOMIZATION: A customizable banner can be easily finshed out. Start by uploading your image, add text, select your options. Then we'll confirm the design with you and print the vinyl banner.

Ships Rolled
Cut and Assemble Your Banner Base in 4 Steps
After measuring and marking your banner base, the next step is to cut the main panel precisely. Use a sharp tool such as a utility knife or scissors on a sturdy, flat surface to prevent fraying or uneven edges. Trim slowly along your straightedge lines, keeping your cuts straight and smooth for a professional finish. Make sure to cut square corners so they align properly with folds and hardware later. Once you’ve cut out the panel, remeasure to confirm it matches your intended dimensions before moving on to finishing the edges. For a cleaner cut with cutting machines, use the medium cardstock setting with more pressure for cleaner cuts. This ensures your banner will hang evenly and look polished.

Lightweight & Durable: The shell of the small-size box cutters retractable is made of thickened ABS, so it is light but not flimsy. And it is comfortable to hold and easy to carry. It is very suitable for families, offices and schools.
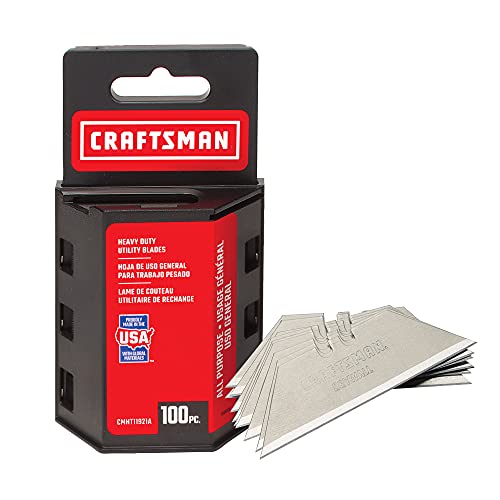
Heavy duty utility blade for general cutting, trimming, and scraping of a variety of materials

Heavy-Duty Utility Knife : Aluminum alloy design with rust-free powder-coat makes the box cutter durable and lightweight (3.2 oz), passing the 1.5m drop test. SK5 razor blades through 1922 °F heat treatment are up to 64 HRC. For long-lasting, extremely durable cuts and slices on boxes, plastic packaging, and straps
Add Budget Lettering Without a Cutting Machine
You don’t need a cutting machine to create budget-friendly, professional-looking banners. Printable letter sets allow you to produce clean, uniform letters by simply printing on cardstock, cutting with scissors, and attaching to your banner base. This method works for any message length, whether you’re spelling out event phrases or names. By printing onto colored cardstock, you can perfectly match your color themes. Different font templates enable easy switching between design styles. Adding a photo booth prop like a mustache or hat on a stick can also enhance your banner display. Using printable stencils cuts down layout time, and short-bladed detail scissors help achieve clean, rounded letter shapes. Glue or washi tape secures each letter without requiring special tools. Greyscale printing saves ink when creating templates, and tracing paper makes transferring specific fonts onto darker surfaces straightforward. For a more realistic decorative touch, you can incorporate high-quality artificial roses that mimic real blooms to add elegant three-dimensional accents to your banner. The final result is a crisp, durable banner that costs only a few cents per letter, offering a simple, customizable alternative to cutting machines. If you plan to display your banner outdoors, be aware that local regulations may affect the use of decorative items like lanterns near your setup.

● Create Flawless, Professional Cards with Ease - Experience superior quality with our 250 gsm premium cardstock (8" x 6" unfolded); significantly thicker than standard cards to prevent bending and feel luxurious, while the sturdy 120 gsm envelopes ensure your invitations arrive perfectly.
HANDS-ON PRACTICE: Featuring colorful images and large letters, our ABC Flashcards allow your children to learn and practice letter recognition and letter sounds for reading comprehension and language arts fluency. Suitable for ages four years and up, the preschool alphabet cards are ideal for building a strong foundation for reading success for both PreK and kindergarten learners.

Professional quality: This 30-pack set includes matching A4 envelopes and cards in an elegant, unified Sage green color. Both are crafted from high-quality, heavyweight paper for a luxurious look and feel.
Choose the Fastest Hanging Method for Your Banner
The fastest hanging method is using adhesive strips or hook-and-loop fasteners. These options attach quickly to smooth surfaces without the need for tools or holes. Just remove the backing, press the strips in place, and your banner is hung in seconds. Keep in mind, surface preparation is key—clean and dry surfaces ensure a stronger hold. For frequent setups or temporary displays, these fasteners provide a quick, damage-free solution.

INCLUDES – 60 poster strips; Hangs up to 30 posters or signs

INCLUDES – 64 poster strips; Hangs up to 32 posters or signs
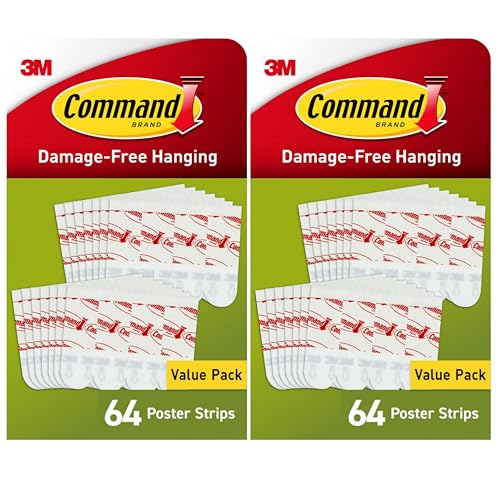
HANGS UP TO 32 POSTERS: Includes 2 packs of 64 strips (128 total) for posters, signs, photos, and kids’ artwork—ideal for dorms, apartments, home, and office.
Decide Between Reusable or Disposable on Purpose
Choosing a hanging method is only part of the setup process—you also need to decide whether your banner should be reusable or disposable. This choice significantly impacts both environmental footprint and overall cost. Reusable banners, made from vinyl or polyester, are ideal for multiple events and ongoing branding efforts. They require a higher initial investment but can be used 50 to 100 times, dramatically reducing the cost per event and minimizing waste over time. Their durability also makes them more eco-friendly when reused frequently. For example, reusable vinyl banners are typically better for long-term outdoor use than mesh because they offer superior durability in wind and a full-print surface. Additionally, the reusable approach echoes the sustainable practice of crafting flower garlands that can be preserved and reused for multiple celebrations.
Disposable banners are designed for single-use purposes, such as birthday parties or short-term sales promotions. They tend to be less expensive initially, but since they are replaced after each event, the total cost accumulates quickly. Many disposable banners are made from lighter materials that often end up in landfills, contributing to environmental harm. If you have storage space and anticipate future events, choosing a reusable banner offers better value and sustainability. However, if your campaign is a one-time message, a disposable banner can be sufficient—just keep in mind the tradeoff between cost and environmental impact. Your purpose determines the best choice: repeated visibility favors reusability, while one-off messages are suited to disposables.