If you’ve ever wondered how to create colorful, glowing paper lanterns at home, you’re in the right place. Making different styles—from simple slit designs to intricate star shapes—is easier than you might think and only requires basic supplies like cardstock, LED lights, and glue.
By the end of this guide, you’ll know how to craft four unique lantern styles that can add a warm, festive glow to any space. Keep reading to learn all the techniques and tips for making stunning homemade paper lanterns.
Gather Supplies for All Lantern Types
Before you start crafting, you’ll need to gather supplies suited for the type of paper lantern you plan to make. Different lantern styles require distinct materials. Choose your paper carefully: cardstock provides durability, making it ideal for reusable or large-scale lanterns, while tissue paper or vellum creates a softer, more diffused glow suitable for delicate or decorative pieces. Sharp craft knives are essential for cutting intricate decorative patterns, offering precision, whereas scissors are great for basic cuts and quick work. Use a ruler and pencil to measure and mark your materials evenly, ensuring your lanterns are symmetrical. For assembly, double-sided tape creates clean seams, while white glue offers sturdier bonds for more durable lanterns. Safe lighting options include battery-operated LED tea lights or fairy lights—these eliminate fire hazards and provide safe illumination. String or ribbon is necessary for hanging your lanterns, and you can personalize your designs with extra embellishments like washi tape or glitter. Having these supplies ready ensures you’re fully equipped to explore and create a variety of lantern styles. For a truly professional finish, consider investing in a cutting mat to protect your work surface and keep your blade strokes precise. If you plan to display your paper lanterns alongside other decorations, note that foil balloons can be reused safely and effectively by carefully deflating them with a straw and storing them in a cool, dry place. For illuminating your lanterns, consider using a ring light with stand for stable, even lighting during photography or video of your finished crafts.

Complete Craft Set: this Halloween pumpkin diy craft kit includes 12 transparent globe bases with black stands, 12 LED candles, 12 jack-o-lantern face decals and 500 yellow orange red tissue papers. Full accessories support custom glowing globe decor with varied color mixes patterns for seasonal DIY crafts

Ideal Size 6-pack Set: 12 sets Halloween DIY painting craft project includes 6 paper mache ghosts and 6 jack-o-lantern pumpkins, ideal matching quantity for group DIY projects; Ghost size: 3.3×3×3 inch, Pumpkin size: 2×2×2.4 inch, suitable mini size for tabletop decor, hanging ornaments and adults' handheld crafts, easy to store and carry without occupying much space

Make a Classic Paper Lantern With the Basic Slit Technique
To create a classic paper lantern using the basic slit technique, start by folding a sheet of construction paper in half lengthwise, forming a long rectangle. Use a pencil to mark a stopping line about one inch from the open edge. Then, cut straight slits from the folded edge toward that line, keeping each slit parallel and evenly spaced at approximately half an inch apart. Make sure not to cut through the trimmed edges; leave these sections intact to maintain the lantern’s shape.
Once the slits are cut, carefully unfold the paper to reveal the pattern. Gently curve it into a cylinder, aligning the edges so that the slits stay centered. Pinch the sections around each slit outward to make the lantern fully shape itself. Use staples or glue to join the short edges securely, forming a stable cylinder. Handle the paper with care, as the delicate cut sections can tear easily. The spacing of the slits influences the light effect—closer slits allow more glow through, while wider gaps produce a more subdued glow. For a romantic touch, you can pair these lanterns with a top table runner to enhance your Valentine’s Day setting. When choosing a backdrop for your display, consider that a medium backdrop balances portability with coverage for most tabletop setups. When using battery-operated LED lights inside, the average lifespan of the strip can be significantly extended by avoiding prolonged high-heat environments.

THE GO-TO, ALL-PURPOSE PAPER: Medium weight, groundwood construction provides the best value in school grade construction paper.

BULK CONSTRUCTION PAPER: The 480-count of Crayola Construction Paper features 48 pages (10 unique colors) per pack.
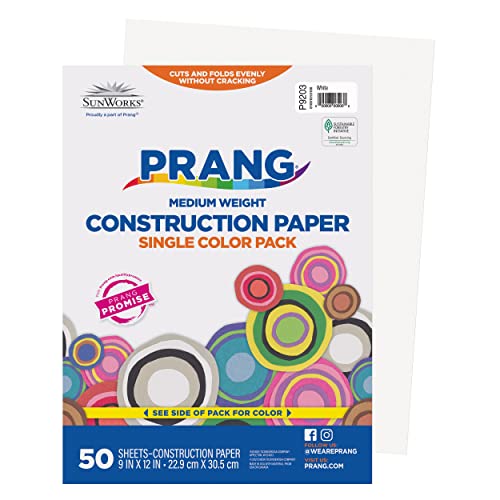
THE GO-TO, ALL-PURPOSE PAPER: Medium weight, groundwood construction provides the best value in school grade construction paper.ght groundwood construction paper
Fold a Flared Chinese-Style Hanging Paper Lantern
Begin by folding your rectangular sheet of paper in half lengthwise, making a firm crease to keep your cut lines straight and even. Save a narrow strip from one edge to serve as the handle later. Before you start cutting, decide on your lantern’s color scheme since the decorative paper’s outside becomes the lantern’s finished face. Mark a stopping line about half an inch from the open edge to keep the top border uncut. From the folded edge, cut evenly spaced slits toward that line, leaving the top border intact. Unfold the paper afterward to see the fringe pattern created by the slits. Then, gently curve the sheet into a tube by overlapping the short ends and secure with glue or tape. The slits will flare outward, giving the lantern its characteristic Chinese-style shape. Attach the narrow strip as a handle to opposite top edges, ensuring balanced hanging. For a festival-ready appearance, add decorative patterns along the top and bottom edges, and make sure to use lightweight paper so the flare opens fully and creates a vibrant glow. To simulate illumination, you can insert a yellow round tube inside the structure to create a glowing effect. For an extra creative touch, consider attaching small photo booth props to the lantern’s handle for playful decoration. For a more reliable and dazzling display, consider wrapping a top rope with lights around the handle to add consistent sparkle. If you need a stable base for the lantern, you can mount it on a foam board to keep the shape secure and prevent the paper from sagging.

PACKAGE INCLUDES: 12PCS 6inch hollow paper lanterns (red×1, green×1, yellow×1, orange×1, rose red×1, blue×1, purple×1, pink×1, mixed color×4), 12PCS disposable LED lights, 12PCS lanterns sticks, 12pcs red tassels. You can hang the lantern from the ceiling, window, overhangs, doorway, archway, or cross aisles, will absolutely add a sweet atmosphere to your space.
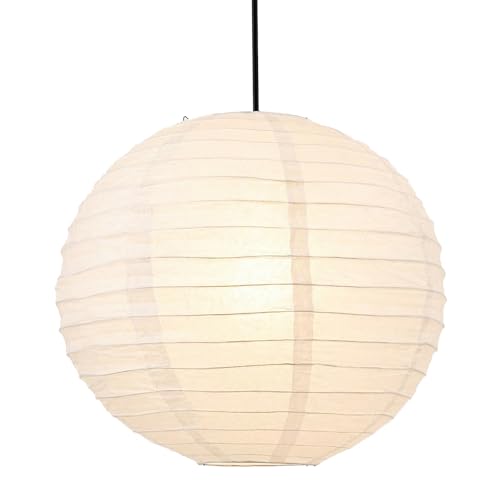
【Product Specifications】The white small paper lanterns measures approximately 12 inches by 12 inches (30 cm by 30 cm), providing a versatile size suitable for various lighting fixtures and decorative needs. This chinese paper lanterns features a classic round shape and a white finish, offering a clean canvas that complements any interior design style. Note: This product is a lampshade and does not include a light bulb.

【WHAT YOU WILL GET】12PCS 6inch hollow out oval-shaped small paper lanterns (1 xRed, 1 x White,1 x Pink, 1 x Blue, 1 x Rose Red, 1 x Green, 1 x Yellow, 1 x Orange, 1 x Purple ,3 x Mixed Color, total 10 colors), 12 disposable warm white LED lights, 12 red tassels, 12 plastic lantern sticks. You can hang tassels, sticks and LED lights on the lanterns to easily create a Chinese or Japanese style festive atmosphere.
Build a 3D Paper Star Lantern From Two Halves
To build a 3D paper star lantern from two halves, start with two square sheets of lightweight decorative paper, ideally around 12 inches by 12 inches. Heavier paper will resist folding and may not hold the star’s shape well. Use origami techniques to create strong center creases by folding the paper in multiple directions—horizontal, vertical, and diagonal—to establish guiding lines. Carefully cut along designated points and fold each point inward along those creases to form the faceted, three-dimensional shape. Repeat this process for the second half, ensuring that your folds stay symmetrical so the two halves will align seamlessly later. Once both halves are prepared, apply glue to the inside seams of one half and press the second half onto it, aligning the points precisely at the center. Tuck the flaps or tabs from one half inside the other for a clean finish. Allow the glue to dry fully before hanging, attaching a sturdy cord or ribbon at the top for suspension. Proper paper selection and precise folding are crucial for a sturdy, attractive lantern that works well as holiday decor. Consider framing this project with warm welcome signs to create a cohesive party atmosphere. Choosing the right decorative paper is similar to finding the perfect pillow for a ring bearer, as both require careful material selection to ensure a sturdy and visually appealing result.

VALUE SET - The 24sheets Christmas theme scrapbook paper pad collection includes 12 different design, 2 sheets for each design.The size is 12in x 12in(30.5cm x 30.5cm). The unique aesthetics design of colorful patterns is suitable for making cards and DIY projects, meeting your different artistic and decorative needs.

You will receive 6 parasols paper umbrellas, diameter 30cm. Enough for your crafting and decorating needs

Package Include:You will receive 24 sheets Christmas scrapbook paper in 12 different styles, each style has 2 sheets.Please note that the front and back of the pattern paper feature the different pattern
Try a Sturdier Wire-Frame Paper Lantern for Large Designs
For large designs, a wire frame reinforcement is essential to keep your lantern’s shape intact. Begin by bending wire into circles or polygons that match the overall shape of your lantern. Add internal cross-wires to divide each section into smaller, manageable areas—each no larger than a single sheet of paper. This internal support prevents sagging and maintains a smooth, uniform appearance. Secure the joints with pliers, twisting the wire tightly or using hot glue for extra stability. Wrap string around each attachment point to further reinforce the structure. Cut your wire slightly longer than needed, then trim excess for a clean finish. Attach translucent paper with glue, pressing it firmly onto the wire edges. Make sure to incorporate hanging hardware before covering and verify the frame’s stability—your lantern must be able to support its own weight. Using this method, you can craft large, durable lanterns that can be reused multiple times without losing their shape. For a more dramatic atmosphere, consider using a top fog machine to complement your large lantern display. Always use LED lights inside and avoid open flames to ensure safety. For a tighter seal around the wire edges, you can apply hot glue after pressing the paper in place, similar to how foil balloons are sealed to prevent air leaks. For the best visual effect, choose snow machine fluid that produces a dense, low-lying fog to enhance the lanterns’ glow.

Wide Applications:Suitable for hanging lamps and lanterns in office places, heavy-duty mirror, heavy-duty picture frames, flower pot pendants, signs, curtains, and hanging clothes

【𝐒𝐮𝐩𝐞𝐫𝐢𝐨𝐫 𝐒𝐭𝐫𝐞𝐧𝐠𝐭𝐡 𝐌𝐞𝐭𝐚𝐥 𝐖𝐢𝐫𝐞 𝐑𝐨𝐩𝐞】Pack includes 2 stainless steel picture hanging wire ropes with hook, measuring 3.3FT long and 0.06inch in diameter,it can support up to 66lbs
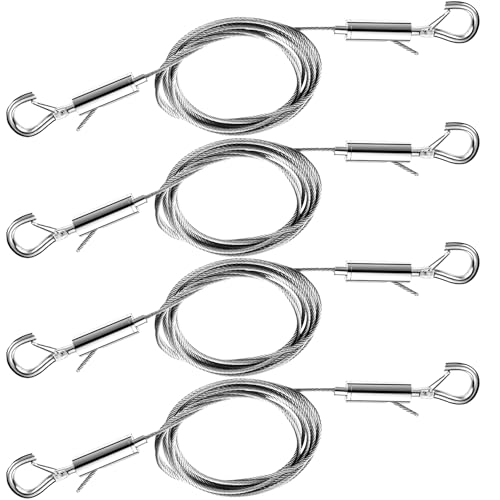
Wide Application: This picture hanging wire kit offers a versatile solution for hanging chandeliers, heavy duty mirrors, frames, flower pot pendants, signs, curtains, garments, and birdcages with ease